
Many people want to store vital information somewhere safe so they will remember it. Taking a screenshot of crucial data is something that many people like to do so that they may look at it anytime they need to.
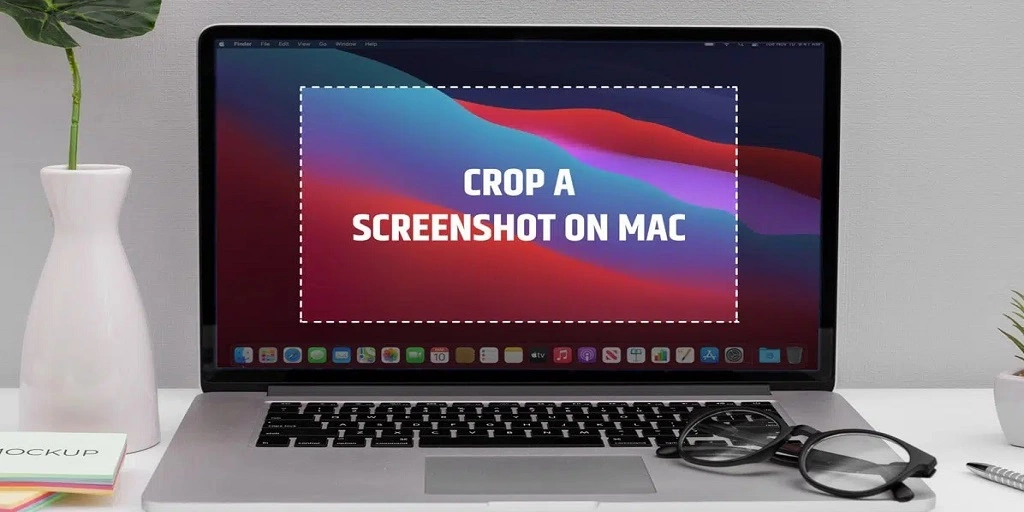
Most individuals who operate on laptops or MACs want to make a gallery of screenshots. But, at this point, the question of how to crop a screenshot on a Mac arises.
Cropping a screenshot on Mac is easier. You can take screenshots and quickly remove unwanted portions or cover up sensitive information with a few clicks. Whether you’re sharing files with others or want to save an image for yourself, the process is straightforward and efficient.
This article will show you how to crop a screenshot on Mac in no time. We’ll also provide valuable tips and tricks to make your cropping experience as smooth and straightforward as possible.
Understanding Your Mac’s Screenshot Tool
Taking screenshots on a Mac is incredibly helpful, especially when you want to capture and share information quickly. The built-in screenshot feature with your Mac makes it easy to do that. When taking a screenshot on your Mac, there are four main options: full screen, window, selection, and timed screenshots.
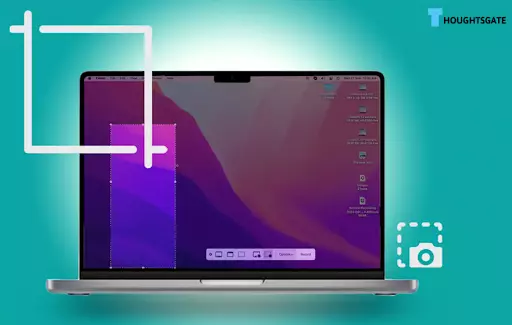
Various screenshot features on your Mac
Using the various screenshot features on your Mac is easy and intuitive. With full screen, window, selection, and timed screenshots available at your fingertips, you can quickly and easily capture whatever information you need quickly and easily.
Full Screen
To take a full-screen screenshot, press Command + Shift + 3 all at the same time. This will instantly snap a picture of your entire display and store it as an image file on your computer.
Window
To take a shot of only the active window you’re working in, press Command + Shift + 4, then hit Space Bar before selecting the window of your choice.
Selection
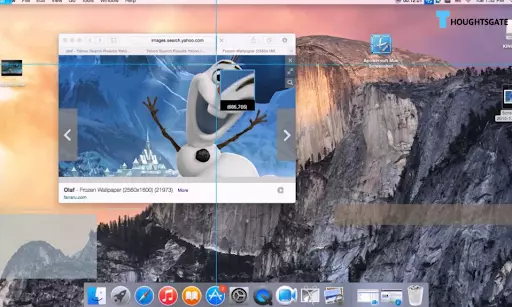
Taking a selection screenshot allows you to choose any part of the screen for the cropped area. To do this, press Command + Shift + 4 and draw a box around the area you want to capture.
Timed Screenshot
The timed screenshot feature lets you set up a delay before capturing whatever is on the screen. To activate this option, press Command + Shift + 5 and then click Options for more settings, like choosing a timer or setting a specific window as your target.
Once you’ve taken your screenshot, you can edit it in Preview or save it directly into another application, such as an email or document. These options can be found in the Screenshot app located in your Mac’s Applications folder.
The window option is slightly different; you’ll have to start by pressing Command + Shift + 4, then hit Space Bar before selecting the window of your choice.
To crop your screenshot, open the image in Preview and select the area you want to keep. From there, click File, then Save As. to save it as a new file on your computer.
You can also save your screenshot as a PDF or copy it directly to the clipboard. The direct copy helps you paste it into another application, such as an email or document. You can find these options in the Screenshot app in your Mac’s Applications folder.
How to crop a screenshot on Mac?

Through employing keyboard commands, you may easily capture a screenshot of any part of the monitor on your Mac computer. Use the keyboard shortcut Shift+Command+4 to proceed. The crosshair-shaped cursor can click, drag, and drop objects.
The screenshot you took will save to your Mac’s desktop immediately. On a Mac, you can take a screenshot with a specific area cropped out. Nevertheless, you’ll need modifying software to crop and alter it to your liking. Both internal and external options are available.
You should use the CleanShot X program if you need new screenshots. It’s a one-stop shop that lets you snap screenshots, blur out the backdrop, modify and store them to a cloud-sharing account, and do much more.
Compared to the built-in macOS application, CleanShot X offers superior functionality when selecting and copying specific monitor areas. Using the in-built tagging tool, you can draw attention to specific aspects or obscure others.
Capto is an alternative Mac app worth trying if you need cropped screenshots. You can take screenshots of the entire screen or a specific screen region. And if you need to tweak the final product, the included editor is powerful enough to do the job. And here’s how:
- Just launch the program and select area> Required shape of screen shoot.
- Then, sketch the necessary shape to make any screenshot you want.
- Choose the Camera option to capture a screenshot of the current window.
- There will be no delay in launching the Capto application. At that point, you’re free to edit your screenshot as you see fit before sending it off to whoever you choose.
Procedure how to take a cropped screenshot on Mac
Pressing Command + Shift + 5 will take a screenshot of the active window on a Mac. Rapidly generate a preview image. You can also select what area of the monitor or the whole display you wish to save. The screenshot will display in the lower right area when you select Capture.
By selecting it, you’ll take the direction toward the screenshot editor. You see the screenshot you just captured; you can edit it. The Preview program opens up immediately whenever you double-click a picture in macOS. Crop your pictures using this handy tool.
- For a closer look at an image, double-clicking it in Finder will bring up Preview.
- For the Markup Panel, click the arrow on the upper right side.
- A part of your screen can be captured as a screenshot at this time.
- Select Crop on the Toolbar option. You could also press the Command key plus the letter K.
Instructions on how to take a screenshot
Cropping your screenshots is a great way to focus on the essential details and ensure you get the exact shot you’re looking for. Here’s a step-by-step step on how to crop a screenshot using Mac’s Screenshot tool:
- Step 1: To begin, open your Applications folder and the Screenshot app.
- Step 2: Select “Selection” from the list of options to choose any part of the screen for the cropped area.
- Step 3: Using your mouse or trackpad, draw a box around the area you want to capture. This will be your cropping frame.
- Step 4: When selecting the area, click the “Crop” button at the bottom right of the window. This will crop your screenshot according to the frame you created in step 3.
- Step 5: Now that you have cropped your screenshot, you can save it as an image file by clicking File > Save. You can edit your cropped screenshot within Preview or save it directly into another application, such as an email or document.
And that’s all there is to cropping screenshots on Mac! With just a few simple steps, you can easily capture whatever information you need and make sure it looks perfect every time.
Conclusion
Taking and cropping screenshots on Mac can be a great way to capture important information quickly and easily. With the Screenshot app, you can take the entire screen, window, or selection shots and crop them directly from the application. Additionally, keyboard shortcuts allow you to bypass the Screenshot app entirely and third-party tools like Skitch or PicPick for more advanced editing options.

Benjamin is tech-savvy and loves to research the highly dynamic technological world. Keeping track of all the tech stocks, tech inventions, and latest developments in the tech world keeps him firm.
He has been writing for the past 12 years and is currently connected with ThoughtsGate.com. Playing ice hockey with his childhood friends is what keeps him fresh.